John Craddock Ltd Magazine (August 2026)
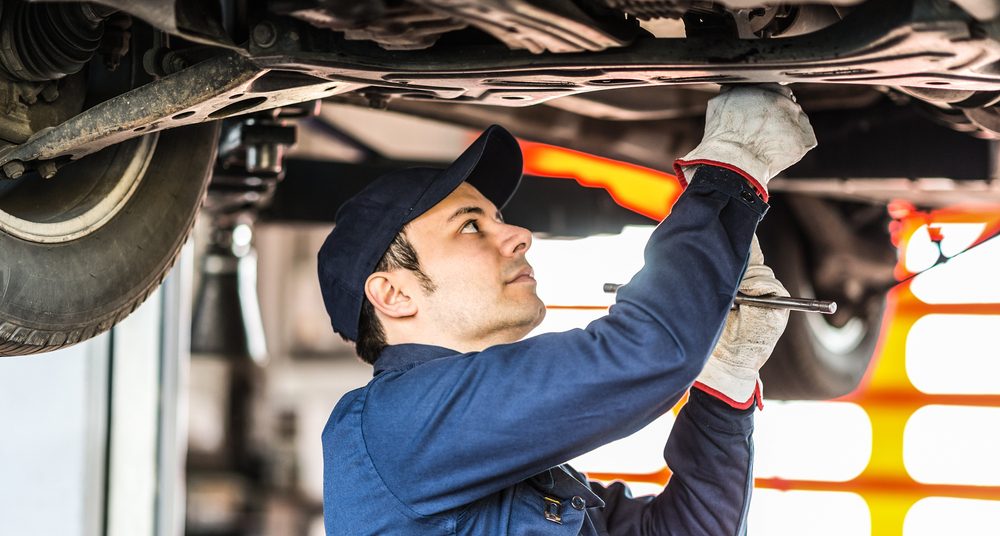
Car Restoration can be a long and complicated process, even for an experienced mechanic. Not only do you need all the right parts and accessories for your particular vehicle, you’ll also need the right know-how, which can be difficult to acquire if the car you’re working on is rare or old.
Luckily for Land Rover owners, you have John Craddock to support you. With a little bit of preparation and some thought, all that complication and difficulty goes away. In this article, we’ll be going over the key fundamentals that are common to all car restorations, whether you’re restoring a 90s-era Volkswagen Beetle or a Range Rover L322. Our goal will be to give you an indication of what to expect during the preparation process.
It must be emphasised that this article is not a definite How-To Guide. Every Land Rover model is different; some radically differ from the others, and you will need to do some more research on your specific model of Land Rover before undertaking any kind of major restoration project. Instead, it’s best to think of this article as a general road map. We’ll be giving you the right direction to go, but you’ve got to choose the roads yourself.
Preparation
Find The Right Place
Assuming that you’re doing this restoration yourself, you want to find the ideal place to get the work done. Ideally, this will be in an enclosed garage, somewhere you’ll have access to electricity, be out of the rain, and have a measure of security.
Once you’ve found the right place for your restoration, you’ll want to consider how you’ll arrange your shop. You’ll want to arrange your Land Rover carefully, making sure that you have enough space to work. Likewise, you want to make sure that your Land Rover is facing the right way.
Document and Assess Your Land Rover
Before removing anything, thoroughly inspect and document your Land Rover. Take photographs and videos from every angle, paying particular attention to the chassis, bulkhead, engine bay, suspension, axles, wiring and areas affected by corrosion. Photograph panel gaps, cable routes, hose connections and fastener positions, as these records will be invaluable during reassembly.
This documentation serves several purposes:
- It helps you identify which components can be retained or repaired and which will need to be replaced.
- It provides a reference showing how parts were fitted before dismantling.
- It creates a useful record of the vehicle’s condition and the progress made throughout the restoration.
At this stage, make a written inventory of missing, damaged and reusable parts. Where it is safe to do so, establish what currently works before dismantling the vehicle. Check the engine, gearbox, transfer box, brakes, steering, electrics and other major systems. Diagnosing faults now can prevent valuable information from being lost once the vehicle has been taken apart.
Check the Vehicle’s Identity and Paperwork
You should also confirm and photograph the vehicle’s identity before beginning the restoration. Record the VIN, chassis number, engine number and identification plates, and check that they correspond with the details on the V5C registration certificate. Keep copies of receipts, photographs and other evidence relating to major components or previous work.
This is especially important if you intend to repair, replace or modify the chassis, engine, suspension, steering or other major components. Certain changes must be reported to the DVLA and may affect the vehicle’s registration identity, historic tax status or eligibility for MOT exemption. A qualifying historic vehicle must still be taxed and kept in a roadworthy condition, even when no MOT test is legally required.
Check the latest DVLA guidance on vehicle repairs and modifications before carrying out significant structural work. If the vehicle’s identity is unclear or major alterations are planned, obtain advice from the DVLA or an appropriate historic-vehicle specialist before dismantling it.
The Disassembly Process
Now that you’ve prepared your space and started the documentation process, it’s time to start the disassembly process. This is a precise procedure, which needs to be done in a specific order.
Once again, we want to emphasise that this is not a specific how-to article. The advice contained within is meant to give you an idea of what to expect.
- For safety reasons, you’ll start with the battery and any petrol you have left in your engine. If you have other cars or Land Rovers, feel free to transfer the spare petrol into those, provided it’s still usable. If, however, you have only a single vehicle, you should dispose of the leftover petrol responsibly. Likewise, if your battery is old, you’ll want to replace it at this stage as well, making sure it’s disposed of responsibly.
- Next, take off your bumpers and all the chrome and stainless steel pieces from your vehicle, including your Land Rover’s Wheels. This includes all the trim pieces, such as windshield and window mouldings, too. You’ll want to place these somewhere where they can hang. Separate them based on whether they need re-plating, polishing, or replacing.
- Once all the bumpers, etc., have been removed, remove the windscreen from your car and any other glass.
- Remove the seats from your Land Rover.
- Remove your Land Rover’s door trim, interior trim, headliner and carpet.
- Remove the hood and boot lid and then the doors.
- Remove your Land Rover’s engine and transmission.
- Remove suspension.
The Right Tools For The Job
As you can imagine, this process is long and involved, and you’ll need the right tools to get it done. These tools are:
Hand Tools
Regardless of the job, a good set of hand tools is something a true craftsman should not do without. For this job, you’re going to need:
- Tin Cutters
- Putty
- Patch pieces for rust holes
- Sheet metal for big repairs
At the very least.
Transmission Stand
A transmission stand will allow you to properly store and move the transmission once it has been removed from your Land Rover.
Dent Puller
If your Land Rover has any dents that can’t be fixed with body filler, you can use a dent puller to pull your Land Rover back into its original shape.
There are two types of dent puller available. The first is hand-operated. The second is used in conjunction with an air compressor. In our experience, the hand-operated version is ideal for most people, as it allows for greater control.
Lift
To pull and carry your engine, you’re going to need a good, sturdy lift, ideally one with an A-frame, so that you can move the lift around as needed.
Air Compressor
An air compressor is a great investment, especially for this project. An air compressor powers tools such as paint spray guns, hammers, grinders, and impact wrenches.
Impact Wrench
Impact Wrenches are used to remove lug nuts, nuts, and bolts, making them very important tools for vehicle restoration.
Angle Grinder
Angle grinders help you to grind through oxidation and are an invaluable tool when repairing older Land Rovers, particularly if they’ve been left out in the open air for long periods.
Creeper
Creepers allow you to manoeuvre under your Land Rover and make repairs as needed. They’re a great addition to any garage and a mechanic’s best friend.
Paint Stripper
Paint strippers will be required if you’re planning on changing the colour of your Land Rover’s chassis or if you want to remove rust.
Visit John Craddock Today For Land Rover Spares and Parts
Founded in 1970, John Craddock has grown into the world’s largest independent supplier of Land Rover parts and accessories. Our catalogue has over 100,000 parts and accessories in stock for every Land Rover make and model. So, if you’re looking for a Lazer light bar for a L405 Range Rover, a Torx Seatbelt for a Land Rover Discovery 5, or anything in between, get in touch with John Craddock today!
Whether you’re restoring your Land Rover, planning a summer adventure or heading off-road, this month’s guides are packed with practical tips and inspiration.